
The flowers are blooming and spring has sprung. It is getting more beautiful by the day. A bright and beautiful burlap wreath on your front door is a great way to welcome spring. I have made a tutorial for my spring burlap wreath so you can make one for your home as well.
What you will need:
- 3 Rolls of 5″ Burlap (30 yards)
- 12″ Metal Wreath Hoop
- 1 Package of Tan Pipe cleaners
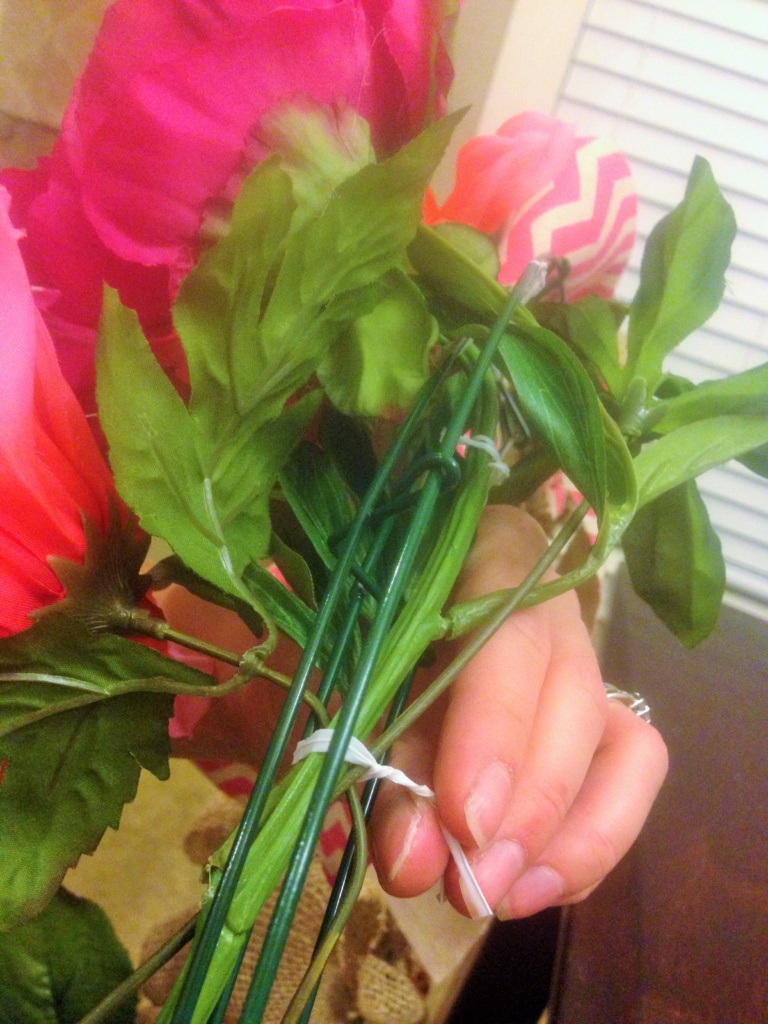
- Spring Silk Flowers (I used a bouquet and used wire cutters to cut them)
- 1-2 Rolls 2 1/2-3″ Ribbon (3 yards)
- 1 Roll of Jute
- Monogrammed Letter
I was able to find all of my supplies at Wal-mart except the metal wreath hoop, letter & ribbon.
- First, you are going to secure the end of the burlap with a pipe cleaner onto a cross bar attached at the top bar where the very end is sticking toward the back of the wreath hoop. Be sure it is very tight.
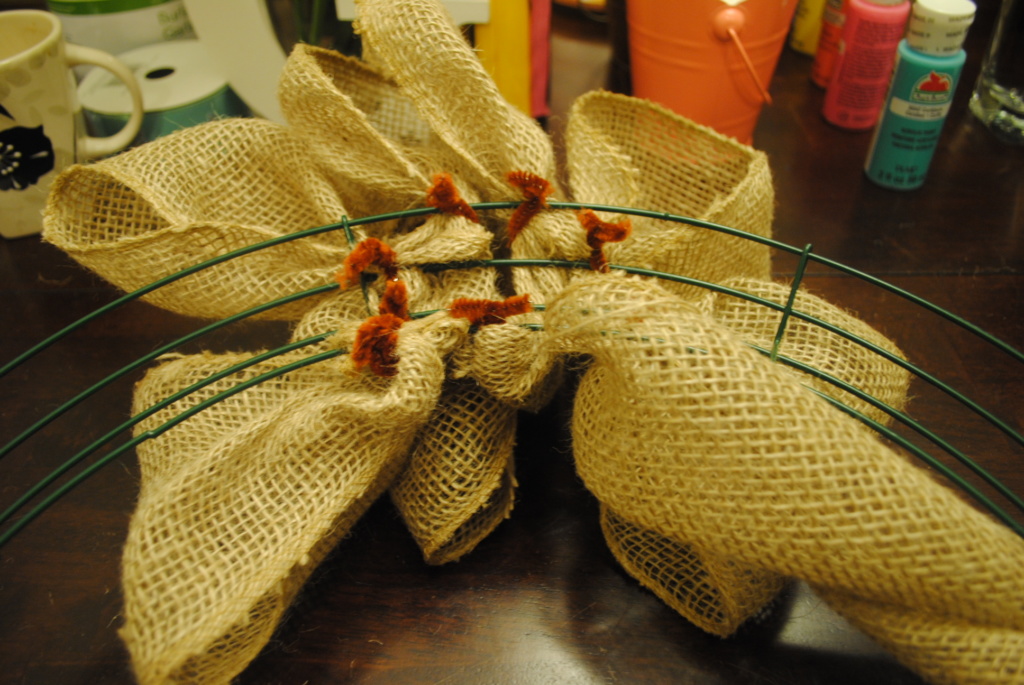
- To start the burlap loops, you will pull the burlap through from the back and begin to make a loop. You need to use your fist as a guide to help you keep the same size loops. You will make a loop, stick your fist in the loop and gather the bottom and attach to the second cross bar where the fabric ties at the back of the hoop with the pipe cleaner.

 Next, you will make a loop on the third bar. You will continue to make loops on each bar to create a varied fabric look and helps spread out the burlap. Leave a space about a foot wide open for your silk flowers. Depending on how full you want your wreath to be, you will need to keep the fabric close together and have more loops between each cross bar for full or spaced out and less at each cross bar for a thinner wreath. For an example, between each crossbar I had about 8 loops and my wreath turned out very thick. My Mom also made one and for hers, and she chose thin with 4 loops between each crossbar.

- Now we are going to add the ribbon to the wreath. Secure the end of the ribbon to a loop tie from the front and be sure it is tight. I used jute to secure the ribbon. You will take your ribbon over the front of a burlap hump and secure at a loop tie. You can space it as much as you want to create the look you like best. For mine, I had a small space between where I took a piece of burlap to cover where it was secured. Continue till you get to the empty space for the flowers and secure tightly.

- Begin to add your flowers to the empty space on the hoop. Arrange them facing you and then bend and attach at the back with pipe cleaners. (You can also use bread ties, like I used in this photo) Be sure they are tight so they don’t fall out. You can twist them around the hoop to secure them, then use the pipe cleaners to be sure they are secured completely.
- After all flowers have been placed, You will need to use burlap around the flowers to make it full. Start where there is no burlap and secure at a crossbar if possible with a pipe cleaner. Then continue to make loops on each bar, pulling the burlap from the back to the front. The top two bars you’ll pull the burlap toward the top and the bottom two you will pull toward the bottom. It’s a little tricky with all of the flowers but when it is finished it has a beautiful look!
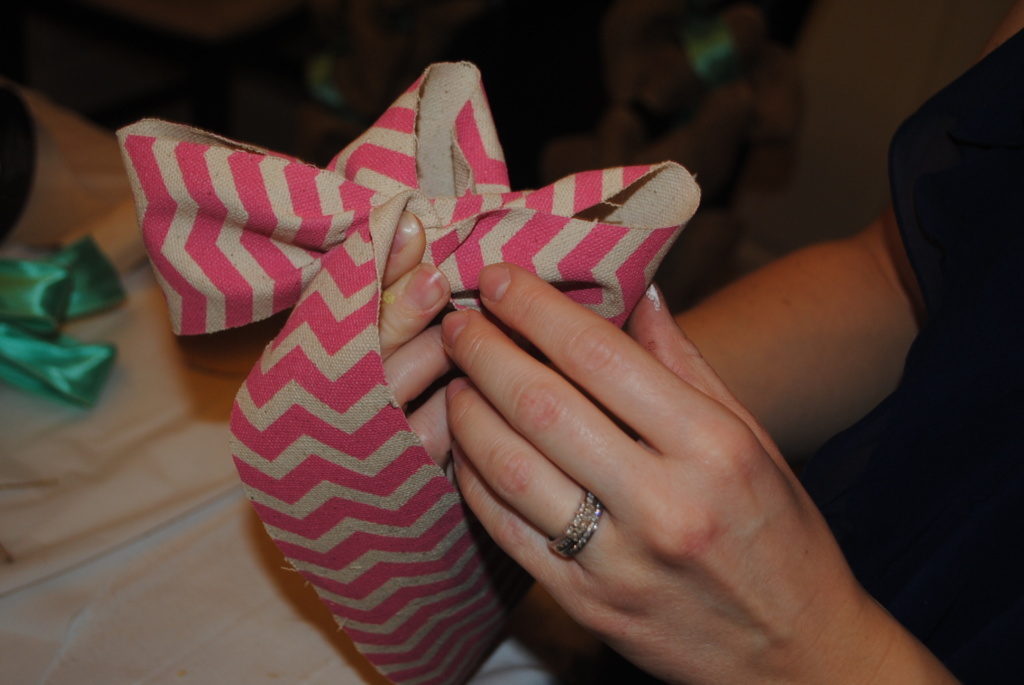
- If you want to add a bow to your wreath, then add it wherever you like. Whether the top middle or the side above the flowers like I have shown in my photo of the finished product.
Now it is finished! You have a beautiful wreath for your front door to show off to your guests and enjoy for Spring.